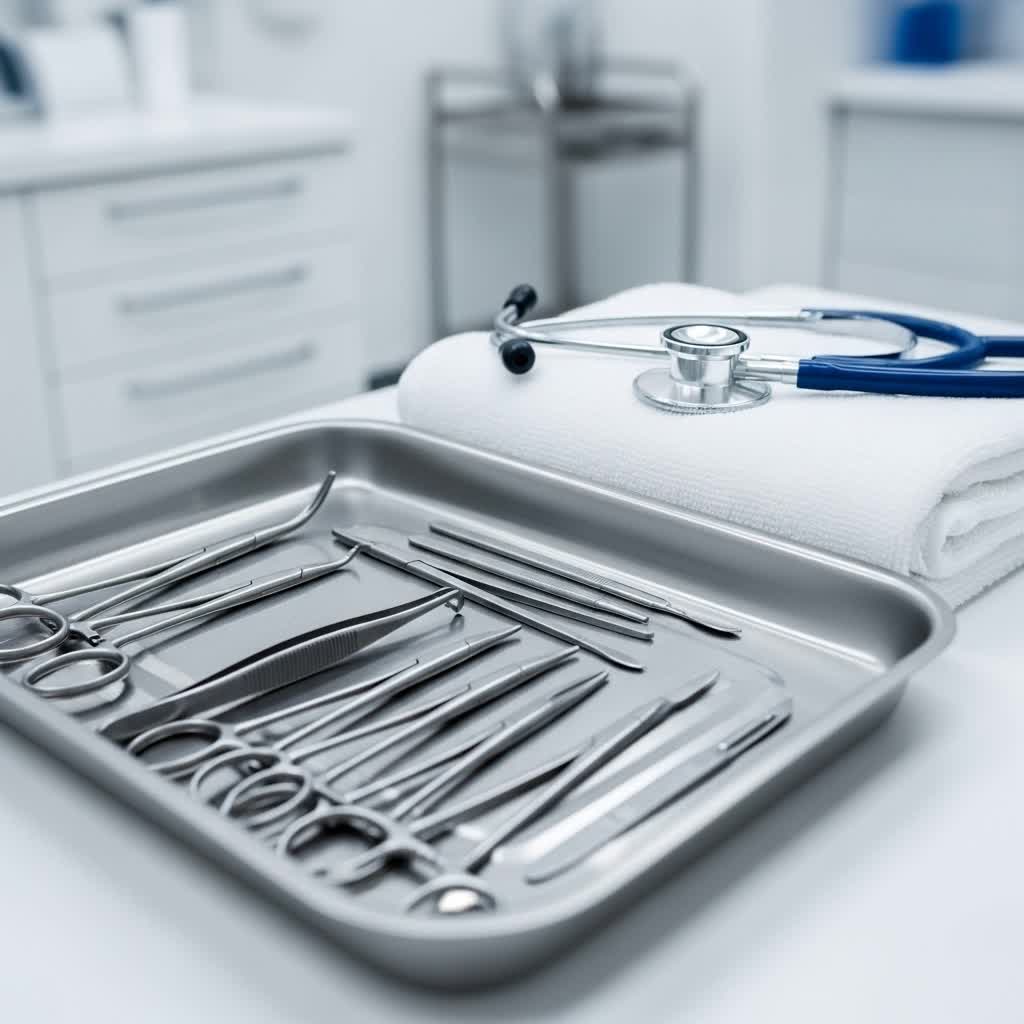
Embarking on the journey through medical school is an exhilarating and transformative experience. As you delve into the intricacies of human anatomy, a well-equipped dissection kit becomes an indispensable companion. These specialized tools offer a hands-on learning approach that textbooks simply cannot replicate, allowing you to develop critical manual dexterity and a profound understanding of the body’s complex structures. Are you ready to select the perfect dissection kit to support your demanding medical education?
What is a Dissection Kit and Why is it Essential for Medical Students?
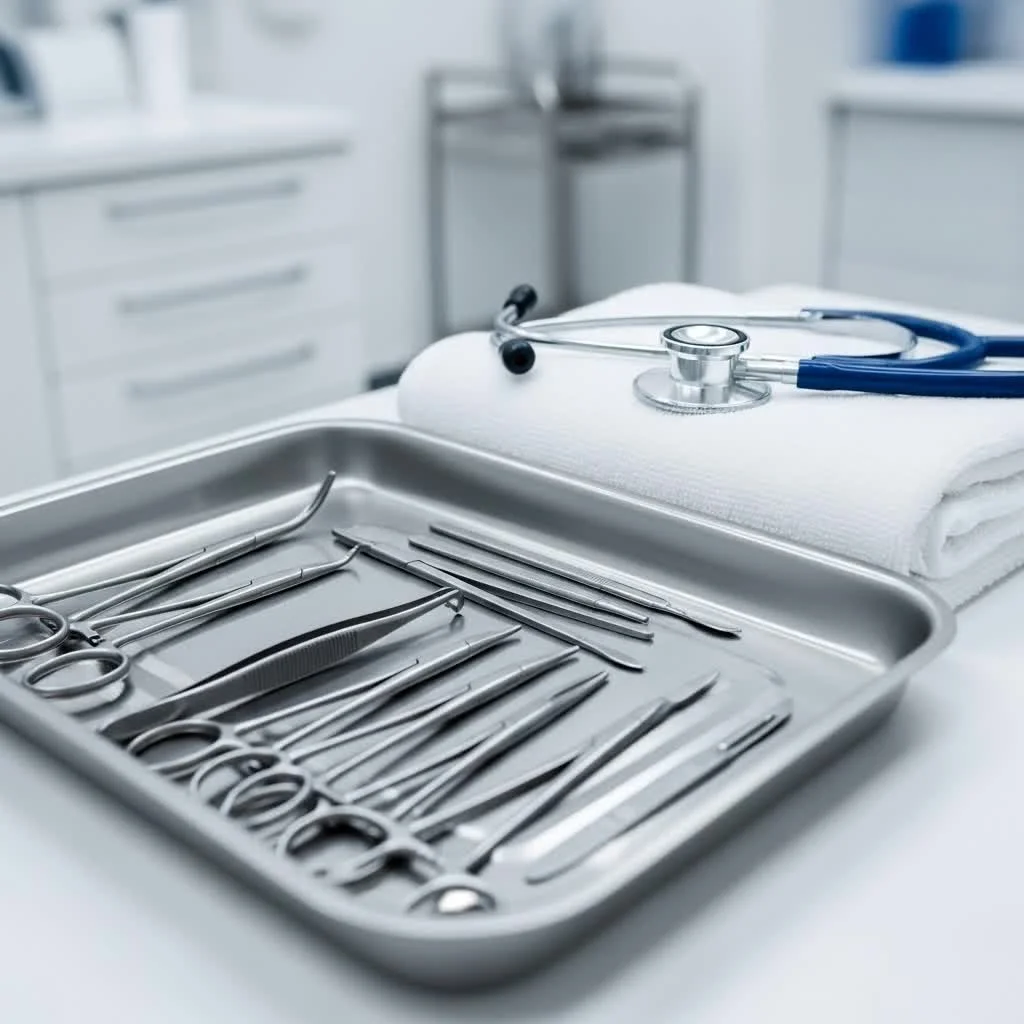
A dissection kit is a collection of specialized instruments designed for the precise and careful separation of biological specimens. For medical students, these kits are not just tools; they are gateways to understanding the human body’s three-dimensional architecture, the relationships between organs, vessels, and nerves, and the nuances of anatomical variations.
Dissection labs are a cornerstone of medical education, providing an unparalleled opportunity for practical learning. Students use dissection kits in various situations, from gross anatomy courses involving cadaver dissection to detailed studies of individual organs or biological specimens. This hands-on experience is crucial for developing the tactile skills and precision necessary for future clinical and surgical practice. Without a quality dissection kit, medical students would miss a fundamental aspect of their training, hindering their ability to translate theoretical knowledge into practical application.
Types of Dissection Kits for Medical Students
Dissection kits vary in complexity and the number of tools they contain, catering to different stages of medical education and specific dissection needs. Understanding the distinctions helps in choosing the most appropriate kit.
- Basic/Introductory Kits: These kits typically contain 6-8 essential tools, ideal for first-year medical students or those in introductory biology and anatomy courses. They are suitable for general dissection practices on smaller specimens or for initial explorations of human anatomy. The focus is on fundamental cutting, grasping, and probing actions.
- Advanced/Comprehensive Kits: As students progress to more complex dissections, particularly involving cadavers or intricate anatomical structures, an advanced kit becomes necessary. These kits usually include a wider array of specialized instruments, sometimes up to 17 or more pieces. They are designed for precision work, deeper tissue manipulation, and may include tools for dealing with tougher tissues or bones.
- Specialized Kits: Some students might require kits tailored for specific areas, such as neurological dissections (brain, spinal cord) or ophthalmology (eye). These kits feature very fine, delicate instruments for micro-dissection. Additionally, kits for surgical training might include suture needles and holders for practicing wound closure techniques.
Choosing the right type of kit ensures that you have the necessary tools for your current coursework while also considering future needs.
Essential Tools Found in Every Medical Student Dissection Kit
A well-rounded dissection kit comprises several core instruments, each serving a unique function critical for effective anatomical exploration.
- Scalpel Handles and Blades: The scalpel is paramount for making precise incisions. Typically, kits include reusable No. 3 or No. 4 scalpel handles. These handles accommodate various disposable blades, such as:
- No. 10 Blade: Ideal for large initial incisions.
- No. 11 Blade: Perfect for puncturing and making sharp, fine cuts.
- No. 15 Blade: Used for small, delicate, and precise incisions in confined spaces.
- Dissecting Scissors: Scissors are indispensable for cutting through soft tissues, fascia, and small vessels. Different types are designed for specific tasks:
- Sharp-Blunt Scissors: One tip is sharp, the other blunt, allowing for both cutting and controlled blunt dissection.
- Iris Scissors: Small and delicate, used for intricate work and fine tissue separation.
- Mayo Scissors: Heavier and used for cutting thicker, tougher tissues.
- Forceps (Tweezers): These instruments are crucial for grasping, holding, and manipulating tissues without causing excessive damage.
- Tissue Forceps: Equipped with fine teeth (e.g., Adson forceps) for a secure grip on delicate tissues.
- Dressing Forceps: Have serrated tips, primarily used for handling non-living materials like gauze or sutures.
- Kelly Forceps (Hemostatic Forceps): Used for clamping blood vessels or grasping tissues during deeper dissections.
- Dissecting Needles and Probes: These slender tools are used for separating, exploring, and manipulating delicate structures.
- Straight Needles: For teasing apart tissues in a linear fashion.
- Curved Needles: Useful for following curved anatomical pathways.
- Probes: A slender tool with a rounded tip, used to explore cavities, trace nerve and vessel pathways, and gently separate tissues, minimizing damage. A grooved director is a specialized probe that guides a scalpel during an incision and protects underlying structures.
- Other Key Instruments:
- Pins (T-pins): Used to secure specimens to a dissection tray and retract tissues for better visualization.
- Ruler: A stainless steel or plastic ruler is essential for accurate measurements and documenting findings.
- Bone Cutters/Chisels/Saws: For advanced dissections involving the skeletal system, these tools allow for the precise cutting and reshaping of bones and cartilage.
- Dropper/Pipette: For applying or transferring liquids like saline, stains, or preservatives.
- Personal Protective Equipment (PPE): Safety is paramount in the dissection lab. Essential PPE includes disposable latex or nitrile gloves, a face mask to reduce inhalation of preservative fumes, protective eyewear to shield eyes from splashes, and a lab coat to protect clothing and skin.
Comparing Dissection Kits for Medical Students
When selecting a dissection kit, a comparative overview can highlight the differences and help align features with your specific academic needs.
| Feature | Basic/Introductory Kit | Advanced/Comprehensive Kit | Specialized Kit (e.g., Micro-Dissection) |
|---|---|---|---|
| Number of Tools | 6-8 pieces | 15-25+ pieces | Fewer, but highly specialized, delicate pieces |
| Primary Use | General biology, initial anatomy, simple specimens | Human cadaver dissection, detailed organ studies, research | Intricate nerve/vessel dissection, microsurgery practice |
| Key Instruments | Scalpel, basic forceps, scissors, probes, pins | Above, plus varied blades, specialized forceps, bone cutters, needle holders, grooved directors | Very fine scissors, micro-forceps, delicate probes |
| Material Quality | Often good quality stainless steel | Medical-grade stainless steel, higher precision | Premium surgical-grade stainless steel |
| Cost Range | Lower | Medium to High | High |
| Durability | Good for student use | Designed for extensive, repeated use | Excellent, but requires extremely careful handling |
Basic kits offer an economical entry point for foundational learning, while advanced kits are an investment in tools that will serve you through years of intense anatomical study. Specialized kits are for very niche areas, often acquired later in training.
Choosing the Right Dissection Kit: A Buying Guide
Selecting the ideal dissection kit is a crucial decision for any medical student. Here’s a guide to help you make an informed choice.
- Assess Your Needs: Begin by understanding the requirements of your anatomy course. Are you dissecting cadavers, individual organs, or smaller biological specimens? The depth and complexity of your required dissections will dictate the types and number of tools you need.
- Consider Kit Components: Review the list of instruments included in the kit. Ensure it contains all the essential tools like scalpels (with appropriate blade types), various scissors, different forceps, probes, and pins. For cadaver work, check for specialized tools like bone cutters or robust retraction instruments.
- Prioritize Material Quality: Opt for kits made from high-quality, medical-grade stainless steel. Such instruments are durable, corrosion-resistant, and can be sterilized repeatedly without degradation. Inferior materials can rust, dull quickly, and compromise dissection accuracy.
- Evaluate Ergonomics and Design: Comfortable, ergonomically designed handles provide better control and reduce hand fatigue during long dissection sessions. Lightweight yet sturdy construction is a sign of a well-engineered tool that enhances precision.
- Check for a Secure Storage Case: A robust, portable case is vital for organizing your instruments, protecting sharp edges, and ensuring easy transport to and from the lab. A good case will feature loops or compartments to keep each tool securely in place.
- Read Reviews and Consult Peers: Look for reviews from other medical students or consult with senior students and instructors for recommendations. Their practical experience can offer valuable insights into the performance and durability of different brands and kits.
- Compare Prices: While quality should be paramount, compare prices from reputable suppliers. Sometimes, educational discounts or bundled offers can provide significant savings without compromising quality.
“A well-chosen dissection kit is an extension of a medical student’s hands and mind. It empowers them to transform theoretical knowledge into tangible understanding, laying the groundwork for a successful medical career.”
Top Dissection Kit Brands Trusted by Medical Students
While specific brand recommendations can vary by region and institution, several manufacturers are recognized for producing high-quality dissection instruments suitable for medical students. Look for brands that specialize in surgical instruments and supply to educational institutions. These often prioritize medical-grade materials, precision craftsmanship, and durability. Brands that emphasize ergonomic design and offer comprehensive kits with various specialized tools are highly regarded. Always check for companies that provide clear specifications on material quality (e.g., German stainless steel) and offer strong customer support or warranties.
Mastering Dissection Techniques: Effective Use of Your Kit
Effective dissection goes beyond merely possessing the right tools; it involves mastering their use and adhering to proper techniques.
- Familiarize Yourself with Each Tool: Before you even begin a dissection, understand the specific function and optimal grip for each instrument in your kit. Knowing when to use a fine Iris scissor versus a heavier Mayo scissor, or a toothed tissue forceps versus a smooth dressing forceps, is fundamental.
- Follow Safety Guidelines Diligently: Always wear your complete PPE—gloves, face mask, eye protection, and lab coat. Handle scalpels and other sharp instruments with extreme care, always cutting away from yourself and others.
- Work in an Organized Manner: Keep your dissection tray tidy and your instruments neatly arranged. A cluttered workspace can lead to accidents and inefficiency. Use pins to retract tissues, keeping your dissection field clear and organized.
- Employ Gentle Dissection Techniques: Anatomy is delicate. Avoid excessive force, which can damage structures or cause unnecessary trauma to the specimen. Use teasing needles and probes for blunt dissection and careful separation of tissues, following natural fascial planes.
- Seek Guidance: Don’t hesitate to ask your instructors or senior students for clarification on techniques or anatomical structures. Dissection is a learning process, and guidance is invaluable.
Maintaining Your Dissection Kit for Longevity and Hygiene
Proper maintenance is crucial for extending the lifespan of your dissection kit and ensuring laboratory hygiene.
- Clean Instruments Immediately After Each Use: Wash all tools thoroughly with soap and warm water to remove biological residues, blood, and preservatives. Use a brush for intricate areas.
- Disinfect Properly: After cleaning, disinfect instruments using alcohol wipes or approved disinfectant solutions. This is vital to eliminate any lingering pathogens or chemical residues.
- Sharpen or Replace Cutting Instruments: Scalpel blades are disposable and must be replaced after each use to ensure optimal sharpness and prevent contamination. Dissecting scissors may need professional sharpening periodically to maintain their cutting edge. Blunt instruments make dissection difficult and can damage tissues.
- Store Tools in a Secure Case: Always store your clean, dry instruments in their designated case. This protects the delicate tips and edges, prevents damage, and keeps the kit organized and ready for your next session.
- Dispose of Blades Safely: Always remove used scalpel blades from their handles using a specialized blade remover and dispose of them in a designated “sharps” container. Never attempt to remove blades with bare hands.
Conclusion
A high-quality dissection kit is an indispensable asset for any medical student, serving as a vital bridge between theoretical knowledge and practical anatomical understanding. From the precise incisions made by a scalpel to the delicate manipulation achieved with forceps, each tool plays a critical role in unraveling the complexities of the human body. By carefully choosing a comprehensive kit, mastering its use, and adhering to strict maintenance protocols, you not only enhance your learning experience but also cultivate the essential skills that will define your journey as a healthcare professional. What discoveries will you unlock with the right tools in your hands?
Frequently Asked Questions
What is the most important tool in a medical student dissection kit?
|
Our Picks for the Best Medical Kit in 2026
As an Amazon Associate I earn from qualifying purchases.
|
||
| Num | Product | Action |
|---|---|---|
| 1 | Car First Aid Kits 275Pcs Survival Gear Home Travel Size Small Emergency Kit Tactical Hiking EVA Camping Essentials Backpack Sports Office Boat Urgent Accident |

|
| 2 | Adventure Medical Kit Ultralight/Watertight Medical Kit .5 - Up to 2 People, Up to 2 Days - Includes Bandages, Blister Essentials & More - Perfect for Hiking, Biking & Climbing |
|
| 3 | Large Pro First Aid Kit for Car, Travel & Home - Emergency Kit for Hiking, Camping, Backpacking and Outdoors - Includes Zip Stitch Wound Closure Strips |
|
| 4 | 330 Piece First Aid Kit, Premium Waterproof Compact Trauma Medical Kits for Any Emergencies, Ideal for Home, Car, Travel, Camping, Hiking, Truck, Office, Sports (Medium) |
|
| 5 | Sundaymot Doctor Kit for Kids, 34 Pcs Pretend Playset for Toddlers, Doctor kit for Toddlers 3-5, with Medical Bag, Stethoscope and Other Accessories, for Boys and Girls Fun Role Playing Game |
|
| 6 | Large First Aid Kit for Car, Travel & Home - Emergency Kit for Hiking, Camping, Backpacking and Outdoors - Includes Zip Stitch Wound Closure Strips |
|
| 7 | Mini First Aid Kit - 150 Piece Small Waterproof Hard Shell Medical Kit for Home, Car, Travel, Camping, Truck, Hiking, Sports, Office, Vehicle & Outdoor Emergencies- Small First Aid Medical Kit (Red) |
|
| 8 | Be Smart Get Prepared First Aid Kit Hard Red Case 326 Pieces Exceeds OSHA and ANSI Guidelines 100 People - Office, Home, Car, School, Emergency, Survival, Camping, Hunting and Sports (20HBC01015REV3) |
|
| 9 | Survival Kit, 262Pcs Survival Gear and Supplies with First Aid Kit Pouch and Crossbody Bag, Emergency Kit with Tent, Camping Axe Hammer, Survival Shovel w/Pick, Bug Out Bag Gifts for Men Women |
|
| 10 | Zonon Naloxone Overdose Emergency Kit Cabinet with Handle 7.5" L x 3.5" W x 9" H Magnetic Closing First Aid Cabinet Wall Mount Metal Medical Box for Public Space Storage Solution, White |
|
While all tools are crucial for a comprehensive dissection, the scalpel handle and various blades are often considered the most fundamental. They enable the precise incisions necessary to initiate and perform anatomical exploration, allowing access to underlying structures.
How often should scalpel blades be replaced?
Scalpel blades are disposable and should be replaced after each use to ensure sharpness, prevent dulling, and maintain aseptic technique. Reusing dull blades can lead to imprecise cuts and tissue damage.
Can I sterilize my dissection kit at home?
While you can clean and disinfect your dissection instruments at home using soap, water, and alcohol wipes, proper sterilization typically requires an autoclave, found in medical labs. Always follow your institution’s specific guidelines for tool hygiene.
Are all dissection kits suitable for cadaver dissection?
No, not all dissection kits are suitable for cadaver dissection. Cadaveric dissection often requires a more comprehensive kit with a wider range of robust and specialized instruments, including bone cutters, stronger retraction tools, and various scalpel blades designed for tougher tissues.
What PPE is essential for medical dissections?
Essential personal protective equipment (PPE) for medical dissections includes disposable gloves (latex or nitrile), a face mask to filter fumes, protective eyewear (goggles or glasses), and a lab coat to protect clothing and skin from biological materials and chemical preservatives like formalin.
Get our weekly buyer guide
Practical specs, not advice. Unsubscribe anytime.
